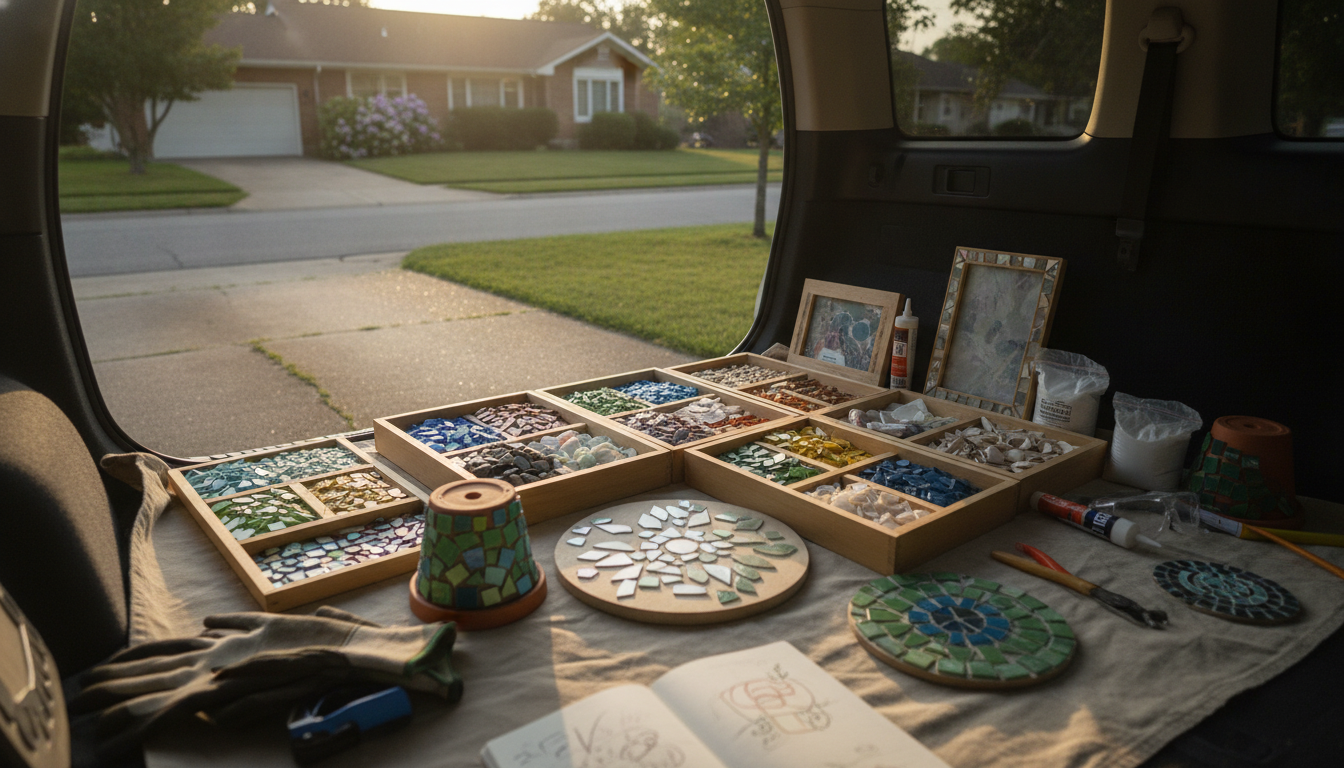
Beginner mosaics go best when the project is small, mostly flat, and forgiving—meaning you can practice placing tiles and spacing without worrying about tricky curves. Start with pre-cut tiles (or broken pieces) and a simple pattern you can finish in an afternoon. Once you’re comfortable, step up to slightly larger surfaces and tighter grout lines.
Coasters are ideal because they’re quick and functional. Use a simple two-color checkerboard, stripes, or a “random mix” of glass tiles. Keep tiles away from the edges so grout can seal the perimeter cleanly.
Add mosaic just around the frame’s outer border and leave the center clean. A repeating pattern—like alternating colors—makes it easy to keep lines straight. This is also a great way to practice consistent spacing.
A trivet lets you try thicker grout lines without looking messy. Choose one bold shape (a diamond, circle, or sunburst) and fill the background with a neutral tile. Stick to heat-safe bases and seal well when finished.
Use large tiles for the background and create the numbers with contrasting pieces or pre-made number stencils. This teaches planning: dry-lay the design first, then glue, then grout once everything is set.
Instead of covering a whole pot, add a single mosaic band around the middle. The limited area helps you learn how to handle curves without committing to a full wrap.
Pick one recognizable shape and keep the rest plain. It’s an easy way to practice cutting or nipping tiles while still getting a clean, finished look.
For a clear walkthrough on choosing tools, setting tiles, grouting, and keeping lines neat, visit this mosaic-for-beginners guide.
Medium gray is a beginner-friendly choice because it hides small spacing or cleanup imperfections better than bright white or deep black. It also works with most tile colors without overpowering the design.





Leave a comment