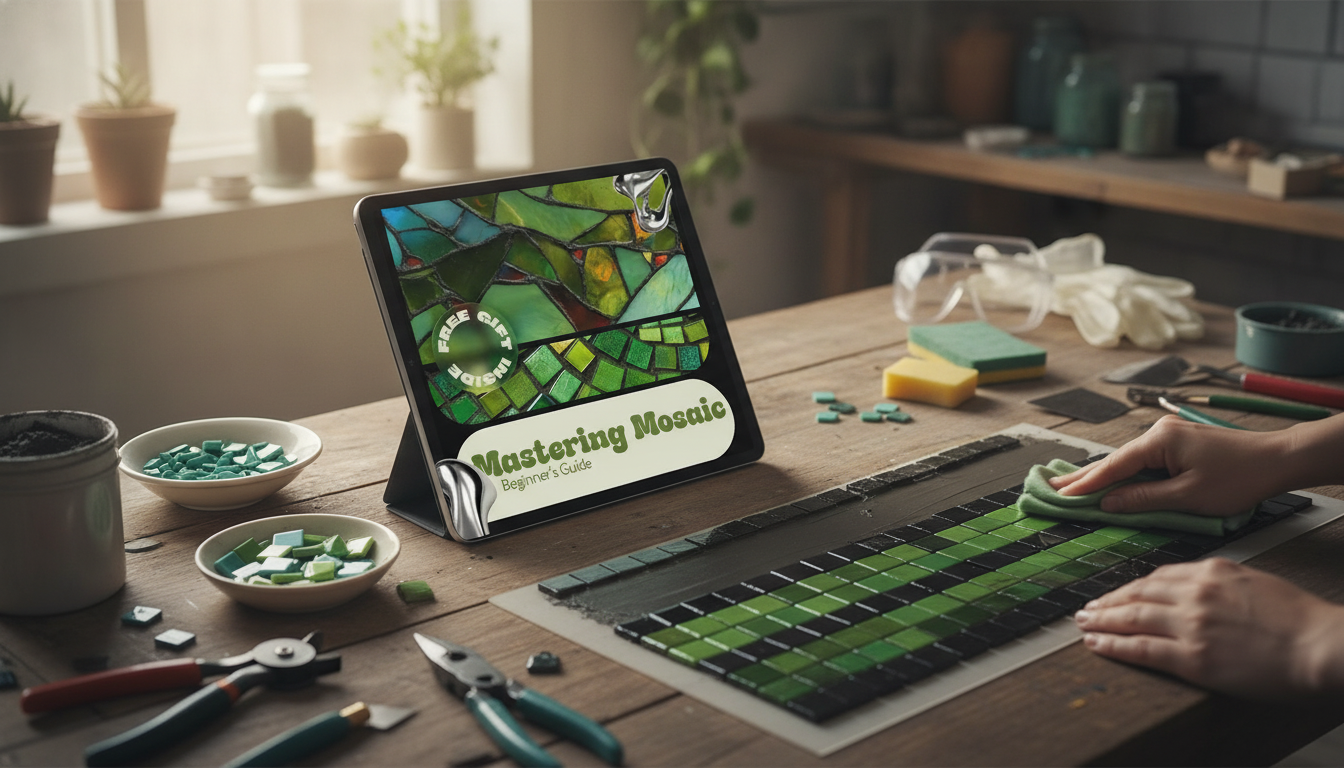
Mosaic blends simple design choices with hands-on progress: small pieces, steady placement, and a finished surface that can last for years. With the right setup and a calm, step-by-step workflow, a first project can feel controlled rather than chaotic. The key is choosing beginner-friendly materials, preparing a stable base, working in small sections, and saving your “final look” for grout lines that are clean and consistent.
Mosaic is naturally forgiving because you build the image one piece at a time. You can work in short sessions, step back to evaluate, and make adjustments before anything becomes permanent.
Before you open adhesive, make sure the basics are within reach. A well-prepped workspace helps you focus on placement instead of scrambling for tools mid-step.
| Item | Best for | Beginner tip |
|---|---|---|
| Vitreous glass or ceramic tiles | Most indoor mosaics | Start with 2–4 colors to keep the design cohesive |
| Tile nippers | Curves and small adjustments | Nibble gradually; rotate tile to avoid cracking |
| Adhesive (thinset or mosaic glue) | Attaching tiles to substrate | Apply in small sections so it doesn’t skin over |
| Spacers or toothpicks | Even grout lines | Aim for consistent gaps; tighter gaps look cleaner |
| Sanded/unsanded grout | Filling joints | Match grout type to joint width; test a small batch first |
| Grout float + sponge | Spreading and cleanup | Wring sponge well; multiple light passes beat one heavy scrub |
Strong mosaics usually start with clear boundaries and a plan for repetition. Even if you’re improvising, a few guide marks keep the piece looking intentional.
A clean set is mostly about preparation and pacing. Work smaller than you think you need to, and keep checking alignment as you go.
For background reading on the craft’s roots and applications, see Encyclopaedia Britannica’s overview of mosaic. For dust awareness when cutting tile and mixing dry materials, review CDC/NIOSH guidance on respirable crystalline silica. If you’re building anything that needs installation-grade durability, consult tile standards resources from the Tile Council of North America (TCNA).
A structured reference can make your first few projects smoother by keeping tool lists, timing, and finishing steps in one repeatable workflow. The Mastering Mosaic Beginner’s Guide digital download is designed for step-by-step support with layout, adhesive selection, cutting basics, grout mixing/cleanup, and sealing considerations.
If you’re setting up a dedicated craft corner, sturdy home pieces can help keep tools organized and your surface protected; the Luxury 70″ Fluted Fireplace TV Stand is an option for a polished living space where finished decor projects can be displayed. For mess-friendly work sessions, durable clothing can be a practical upgrade—Brunello Cucinelli Men’s Cotton Denim Pants offer a heavier fabric that’s easier to move in during hands-on tasks.
No—mosaic scales down well, so starting with a small base and a simple repeating pattern makes it very manageable. A limited color palette and consistent spacing do more for a “clean” look than complex imagery.
Unsanded grout is typically used for very narrow joints, while sanded grout is often used for wider joints and many mosaic applications. Always check the grout manufacturer’s guidance and test a small batch to see how it spreads, cleans up, and dries in your tile combination.
Many mosaic glues may be ready in about 24 hours, while thinset installations often benefit from 24–48 hours depending on thickness and conditions. Follow your product directions and wait longer in cool or humid environments to prevent tile movement.






Leave a comment