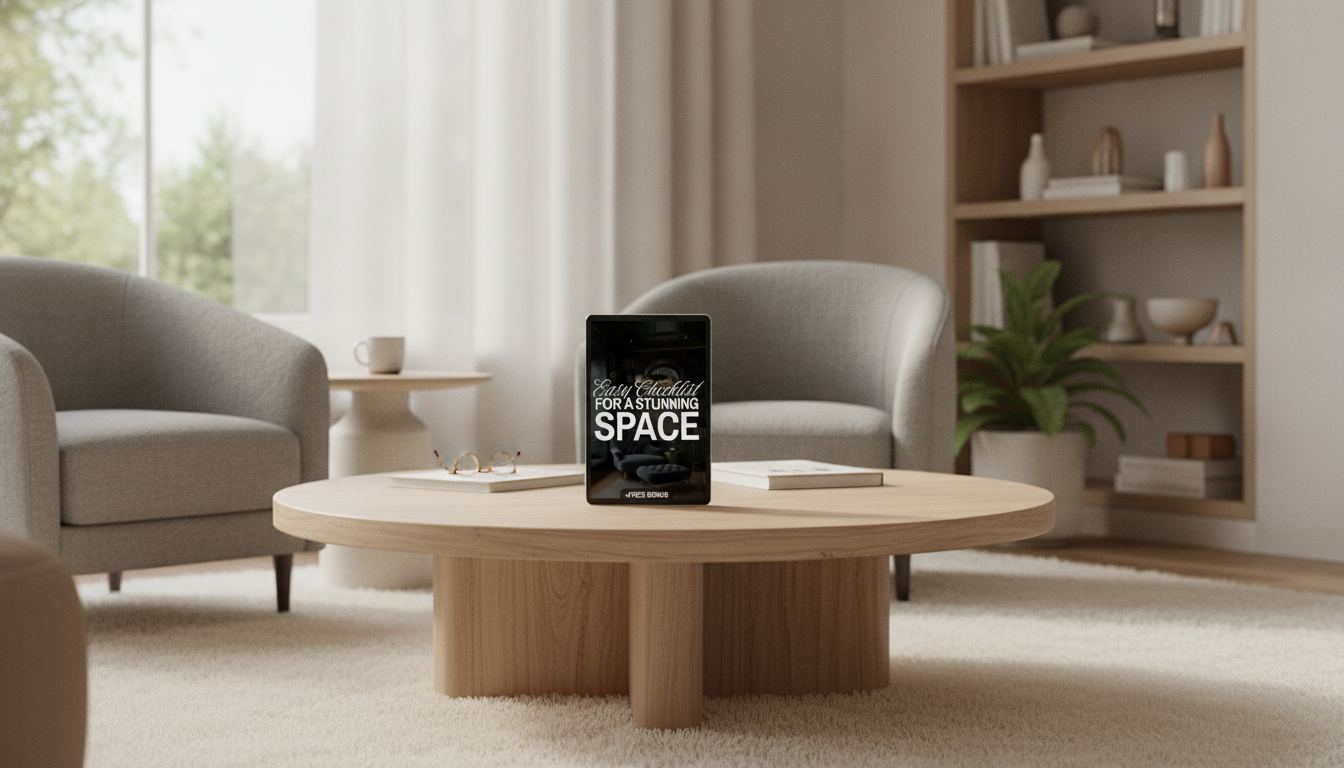
Easy Checklist for a Stunning Space: A Simple, Room-by-Room Plan for Decorating with Confidence
A beautiful home doesn’t require a full renovation or a designer budget—it requires clear decisions in the right order. When decorating feels overwhelming, it’s usually because too many choices are happening at once (paint, pillows, layout, storage) without a simple system. The checklist approach below keeps the process practical: define the goal, measure what matters, choose a cohesive direction, and finish each room with details that look intentional and lived-in (not cluttered).
Start with the “why” of the room
Before browsing decor, get clarity on how the room should work and feel. This becomes the filter that makes every later decision easier.
- Define the primary purpose (rest, work, hosting, play) and the top two feelings to amplify (calm, cozy, energetic, polished).
- List non-negotiables: seating count, storage needs, pet/kid durability, or tech requirements.
- Identify what must stay (sofa, rug, heirloom piece) so your design has an anchor from day one.
- Set a timeline and a “good enough” finish line (for example: “guest-ready by Friday” or “90% done before buying more decor”).
Measure first, then plan the layout
Measuring is the fastest way to avoid expensive mistakes. A room can look “off” simply because one piece is out of scale or blocks circulation.
- Measure room dimensions, window/door placements, ceiling height, and major furniture footprints.
- Map walking paths so circulation stays comfortable—especially around entry points and high-traffic routes.
- Decide the focal point: fireplace, large window, TV wall, art wall, or a statement headboard.
- Use a quick order of operations: place the biggest piece first, then supporting pieces, then accents.
Quick layout checklist (print-friendly)
| Step |
What to check |
Common mistake to avoid |
| 1. Anchor |
Largest item fits without blocking doors/vents |
Choosing a piece before measuring |
| 2. Flow |
Clear paths between entry, seating, and storage |
Overcrowding corners and walkways |
| 3. Zones |
Create distinct areas (work, relax, eat) if needed |
Trying to make one spot do everything |
| 4. Lighting |
Plan layers: overhead + task + ambient |
Relying on a single bright ceiling light |
| 5. Storage |
Every category has a home (keys, mail, throws, toys) |
Buying decor before solving clutter |
Choose a style direction without overcomplicating it
You don’t need a perfect label like “modern farmhouse” to create a cohesive room. A short style direction is enough to guide purchases and keep your space consistent.
- Pick 3–5 descriptive words for the room (warm, airy, tailored, natural, playful).
- Collect a small reference set (5–10 images) and look for repeats in shapes, colors, and materials.
- Select one signature element to repeat: arches, black metal, light oak, linen texture, or a bold pattern.
- Keep fixed finishes in mind (flooring, countertops, tile) so undertones don’t clash. A quick refresher on fundamentals like hue and contrast can help when narrowing choices (see Britannica’s overview of color basics).
Build a cohesive color plan (paint comes later)
Paint is flexible. Rugs, upholstery, and major wood tones are harder to swap—so start there and let paint support the palette.
- Start with what’s hardest to change: rugs, large upholstery, or major wood tones.
- Use a simple structure: main neutral + secondary neutral + accent color + metal/wood tone.
- Repeat each color at least twice so the room feels pulled together (pillow + art, vase + throw, etc.).
- Test paint and textiles in your actual lighting at different times of day before committing.
Layer texture, lighting, and “soft edges”
Once the layout and palette are set, the room starts to feel finished through layers—especially lighting and texture.
- Add texture intentionally: matte + glossy, woven + smooth, structured + plush.
- Create lighting layers: ambient (overall), task (reading/work), accent (art/shelves).
- Balance hard lines with soft elements—curtains, pillows, throws, rounded decor, and plants.
- Use “repeat and vary”: repeat one texture (linen, boucle, rattan) while varying scale and placement.
For practical, energy-smart lighting decisions (bulbs, fixtures, and usage), review guidance from Energy.gov’s lighting resource.
Finish with organization that still looks beautiful
Many rooms look “unfinished” because clutter competes with decor. Organization is the final design layer—not a separate project.
- Remove visual clutter first: simplify surfaces, group items, and store extras out of sight.
- Use hidden storage where possible (baskets, lidded boxes, trays, drawer dividers).
- Assign “drop zones” near entry and high-use spots (keys, chargers, mail, sunglasses).
- Aim for one intentional focal vignette per room rather than decorating every surface.
If you need a quick reset strategy, Apartment Therapy’s decluttering ideas offer approachable ways to edit without feeling deprived.
Room-by-room mini checklists (fast wins)
A printable, step-by-step tool to keep decisions organized
Helpful digital guides (in stock)
FAQ
What should be chosen first: paint, furniture, or a rug?
Start with the hardest-to-change item with the most variation—often a rug or large upholstery—then build the palette around it. Paint usually comes later because it’s easier to color-match to textiles and fixed finishes.
How can a room look more pulled together without buying a lot?
Edit clutter first, then improve lighting with two to three layers (ambient, task, accent). Repeat a limited palette throughout the room and use trays or baskets to group small items so surfaces look intentional.
How many decor items are too many on shelves and surfaces?
If you can’t see negative space, it’s usually too much. Keep one focal arrangement per surface, vary height and shape, group items in odd numbers, and store the rest so the room can “breathe.”
Recommended for you







Leave a comment